Course Description
|
Prerequisites: open mind and a willingness to try something new
We will take your strong foundational understanding of fundamental art to the next level. We review previous concepts but also deepen the understanding of application art making techniques; as well as explore how they relate to the Elements of Art with a stronger emphasis on Principles of Design and the Design Process. Main expectation for work is focused on individual improvement– level of effort will go a long way.
|
Course Units
|
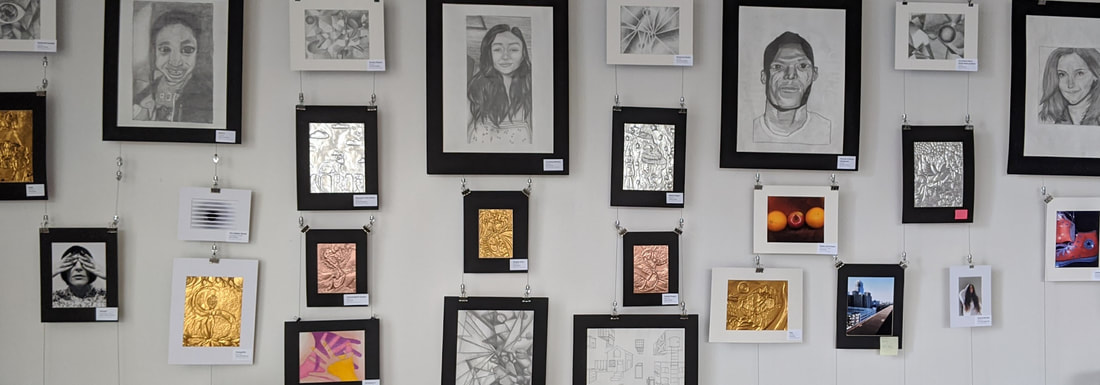
Unit 1: Who I Am

Project Description: create a French Fold Booklet and a Spark Video to show what makes you, well you!
Objective: share some things about your self, demonstrate current art-skill level and creativity, learn how to navigate and submit assignments on Canvas. Goals: get to know each other better, practice submitting assignments, and understand what to expect from the class. Materials: Paper, pencil, ink beyond that you're welcome to use any art supplies you have access to. If you want to challenge yourself only use paper and ink. Evaluating: Assessment: |
Unit Time Line
Day 1: introduce project and start on moquette*
Day 2: Compete Moquette and start on Project* Day 3: Complete Project start Spark Video* Presentation Day 4: Upload Images and video of project to the "Who I Am Formal" Canvas Assignment by end of class. *submit progress images and/or notes to Daily Work assignment on Canvas by end of class; after 11:49 pm they will be marked late.
|
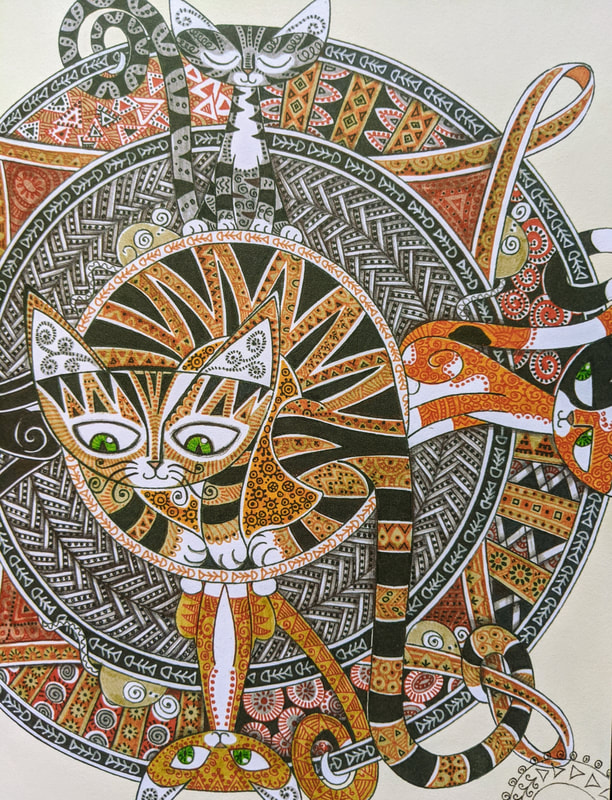
Mandala Unit
Stage 1: Elements, Principles, and skillsElement Focus: Line (Create/turn in booklet)
Principle Focus: Balance (Create/turn in booklet) Skill Focus: Ink and Colored Pencil (Create/turn in Colored Pencil Notes, Review Ink notes) Stage 2: Creative ProcessDeveloping more nuanced understanding of the Creative Process.
This project will focus on: How to take better notes. Used what you learned about notes and apply them when reading the Mandala Research Article. (Create/turn in Article Notes) Stage 3: Make Something!Well crafted designs don't just happen, they are planed. Use the Mandala Packet to review and apply everything learned from learned from Stages 1 and 2 to start crafting your design for your project.
The Project RequirementsThe Project Requirements are important to keep in mind from the beginning so you know what to plan for as you go. Remember as long as you are meeting the requirements- yes, you can add your own ideas to as well.
|
Note about Mandala PacketParts 1-2: 15-30 minutes (combined)- keep this part simple!
Part 3: 10 minutes Part 4: 30-40 minutes Part 5: 30-45 minutes
|
Photo from wuestenigel
